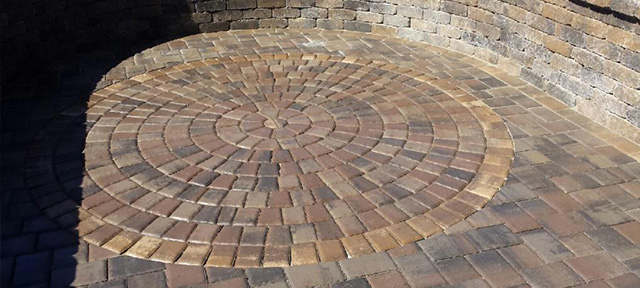
Paver Installation
Interlocking Paving Stones come in hundreds of a variety of shapes, sizes, colors and textures. This versatile material allows for much more creativity and flexibility when designing your hardscape. While poured concrete allows for a standardized look and is very common, it often goes unnoticed. Concrete pavers on the other hand, can modify your outdoor living space to be something unique and eye catching. Both poured concrete and custom pavers are big investments in your property, but because pavers can create an artful feature, they can increase the elegance of your home, and in many cases the property value as well.
Using pavers means underground maintenance doesn't have to destroy your yard. Because of the specialized way that pavers are installed, it is convenient and simple to re-move pavers when underground pipes, roots or other issues beneath them need to be fixed. The work can be done and the pavers re-installed to look as if nothing happened. This creates less of an impact and is virtually unnoticeable when it is done. (Unlike with poured concrete which needs to be drilled and then re-patched often causing unsightly blemishes.)
In order to lay the base foundation for the pavers, we follow the process below:
- Excavation: Removal of 9.5 inches of the existing surface area
- Installation of geomat on top of native soil to prevent weed and plant growth
- Installation of 4 to 6 inches of base rock
- Pour ½ to 1 whole inch of bed sand
- 2 ½ inches for the pavers itself
The pavers will be set and look great.
Sometimes, issues occur beneath the pavers that need to be addressed. If the area underneath the pavers happen to grow roots, incur water leaks or undergo earth movement, the issues are very easy to fix by following these simple steps:
- Remove only the pavers above and around the area of the issue and save them to the side
- Take the bed sand out
- Take the base rock out
- Make the repair (Cut the roots, replace leaking pipe, etc.)
- Put the base rock back
- Put the sand back
- Re-install the paver
Your hardscape will look as good as new, with no sign of the destruction underneath. In this same scenario, with a concrete or asphalt hardscape, not only can the initial damage cause a crack, but your repair will leave a large blemish and/or the entire area will have to be re-done to achieve the same seamless results.
A hardscape fashioned from decorative pavers is not only aesthetically pleasing, but practical too!
